
After taking ownership of Elara, our first priority was to address the “hardware” issues – however, once we decided that we would be cruising on her, Updating the interior quickly became priority #2.
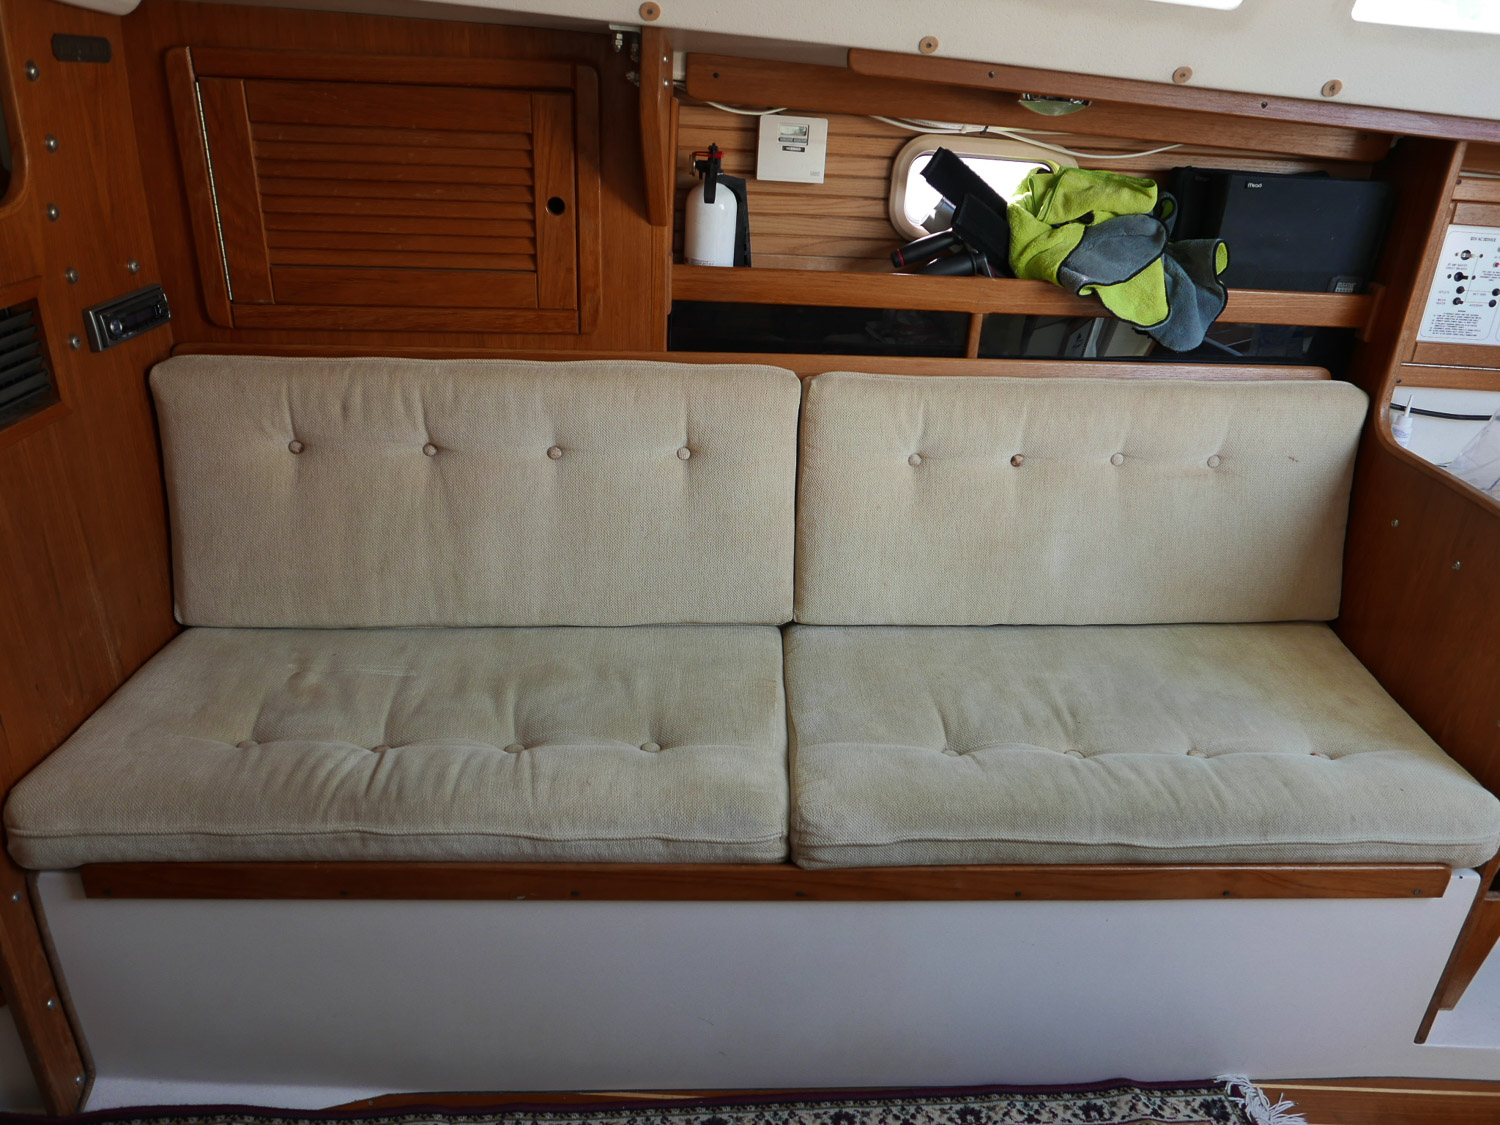
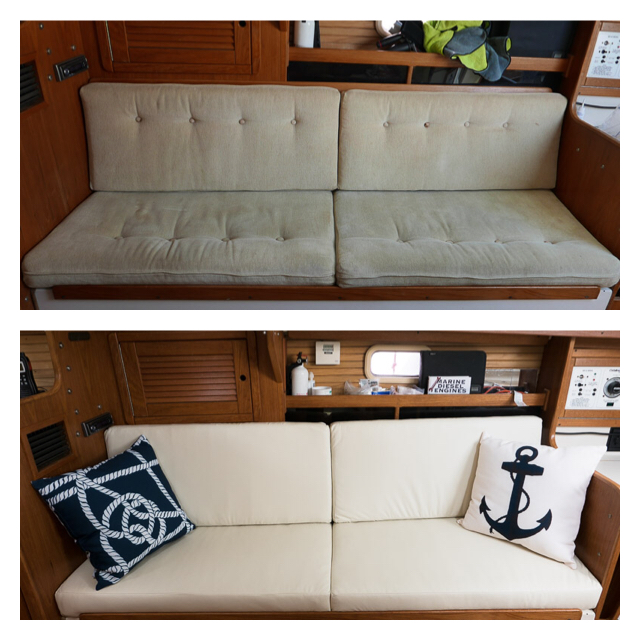
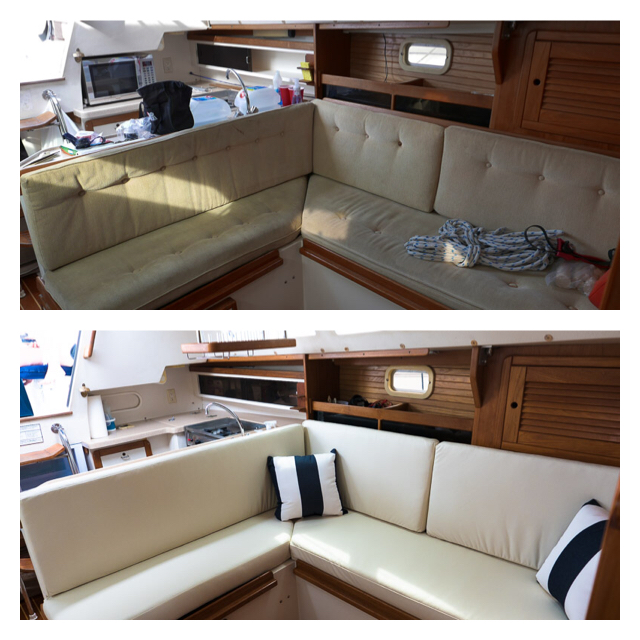
While her interior was in relatively good shape, the cushions appeared to be original (20 years old!), and much of the interior varnish was showing uv/water damage. We figured that if we are going to be making this boat our home for an extended period of time, we wanted the “living space” to be as clean and comfortable as possible!

Since neither of us had any experience making boat cushions, I first started calling around to see how much it would cost to get new cushions professionally made. The quotes nearly gave me a heart attack. I could literally buy an entirely new boat for the price some shops wanted to charge just to make new interior cushions (maybe not a super fancy boat, but still.)
Not being the types to shy away from a challenge, we figured that we could buy a sewing machine, new foam, new fabric and all the other assorted materials and make the cushions ourselves for less than half the cost of a professionally made set. Sure it would take some man-hours but hey, that’s more money in the kitty for cruising, right?
First off, mad props to the Sailrite folks, who have put together the most incredible collection of how-to videos on everything boat-sewing related. We started off by watching the “how to make salon cushions” video, as well as all the introductory videos (setting up the machine, how to sew zippers, pillow making etc…)
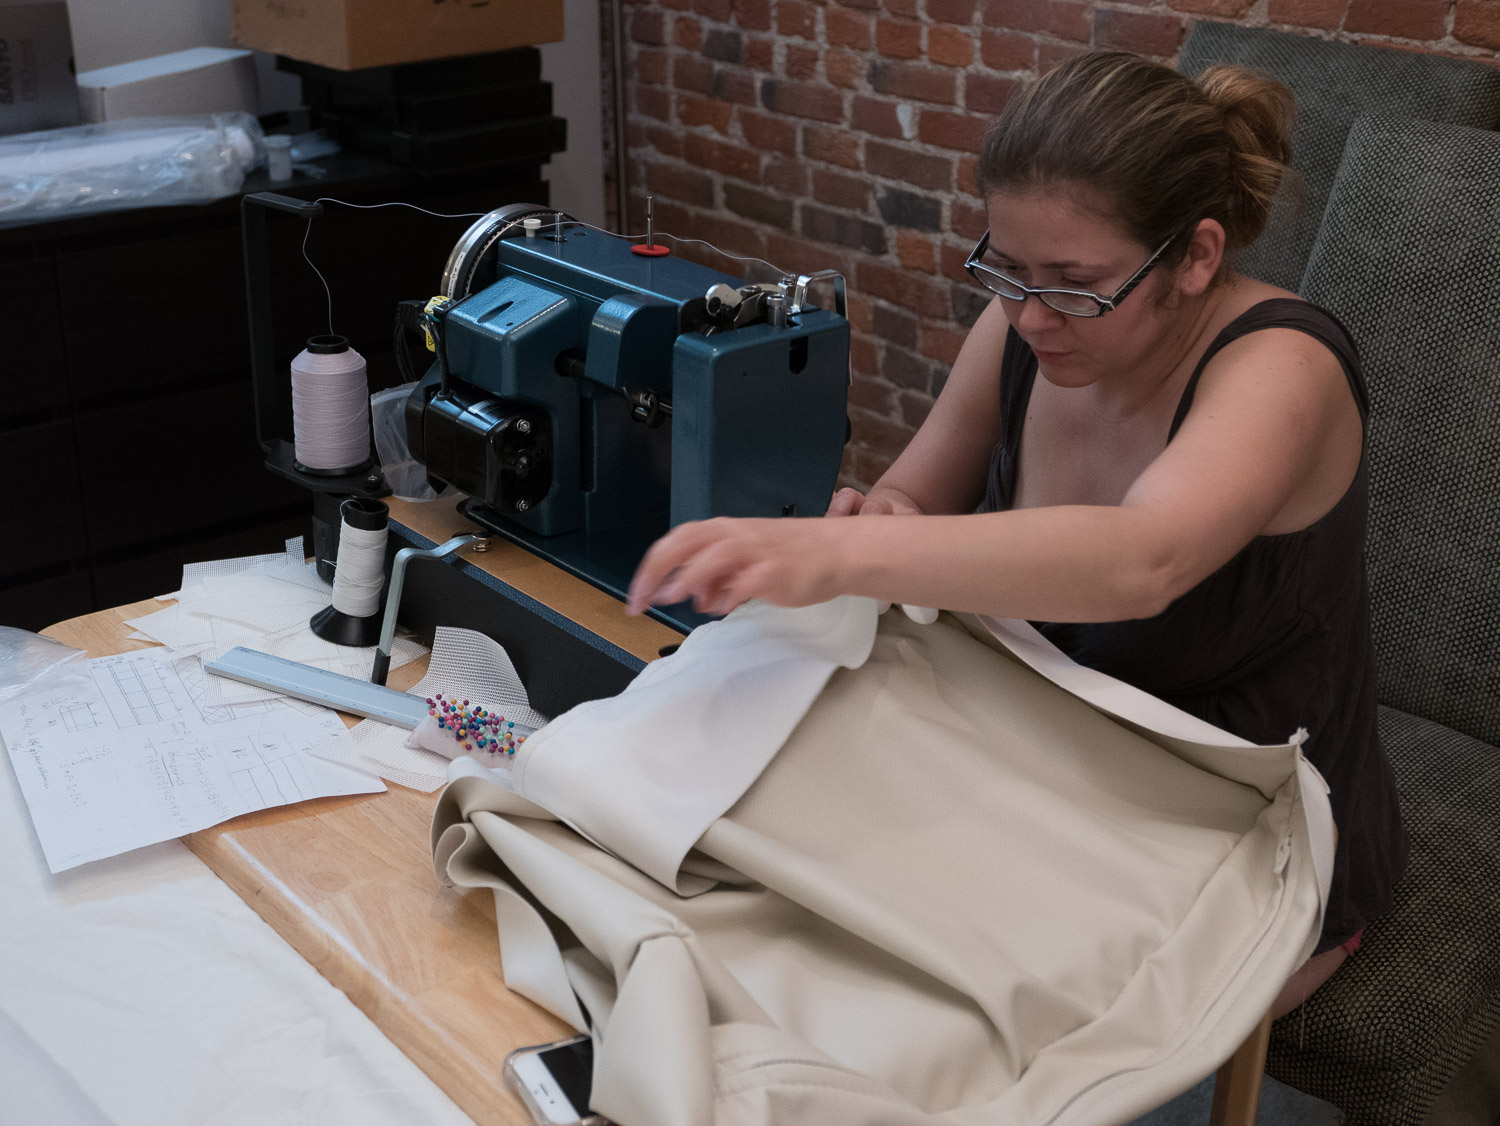
Then we started researching what machine to get. In the end we wound up with the Sailrite LSZ-1. The combination of a heavy duty, walking foot machine in a compact/portable package was just too appealing. It also helps that Sailrite has some of the best customer service I’ve ever encountered. (Does this sound like a Sailrite commercial yet?)
At the same time, we were also looking at fabric options. We really liked the “Brisa” line of Ultraleather – a lightweight, heavy duty, breathable synthetic leather, but it is shockingly expensive (around $70/yard retail. And we would need 10 yards!) In a stroke of luck we found a length of the very Ultraleather we were looking at on ebay for half price, and were able to get just enough. Score!
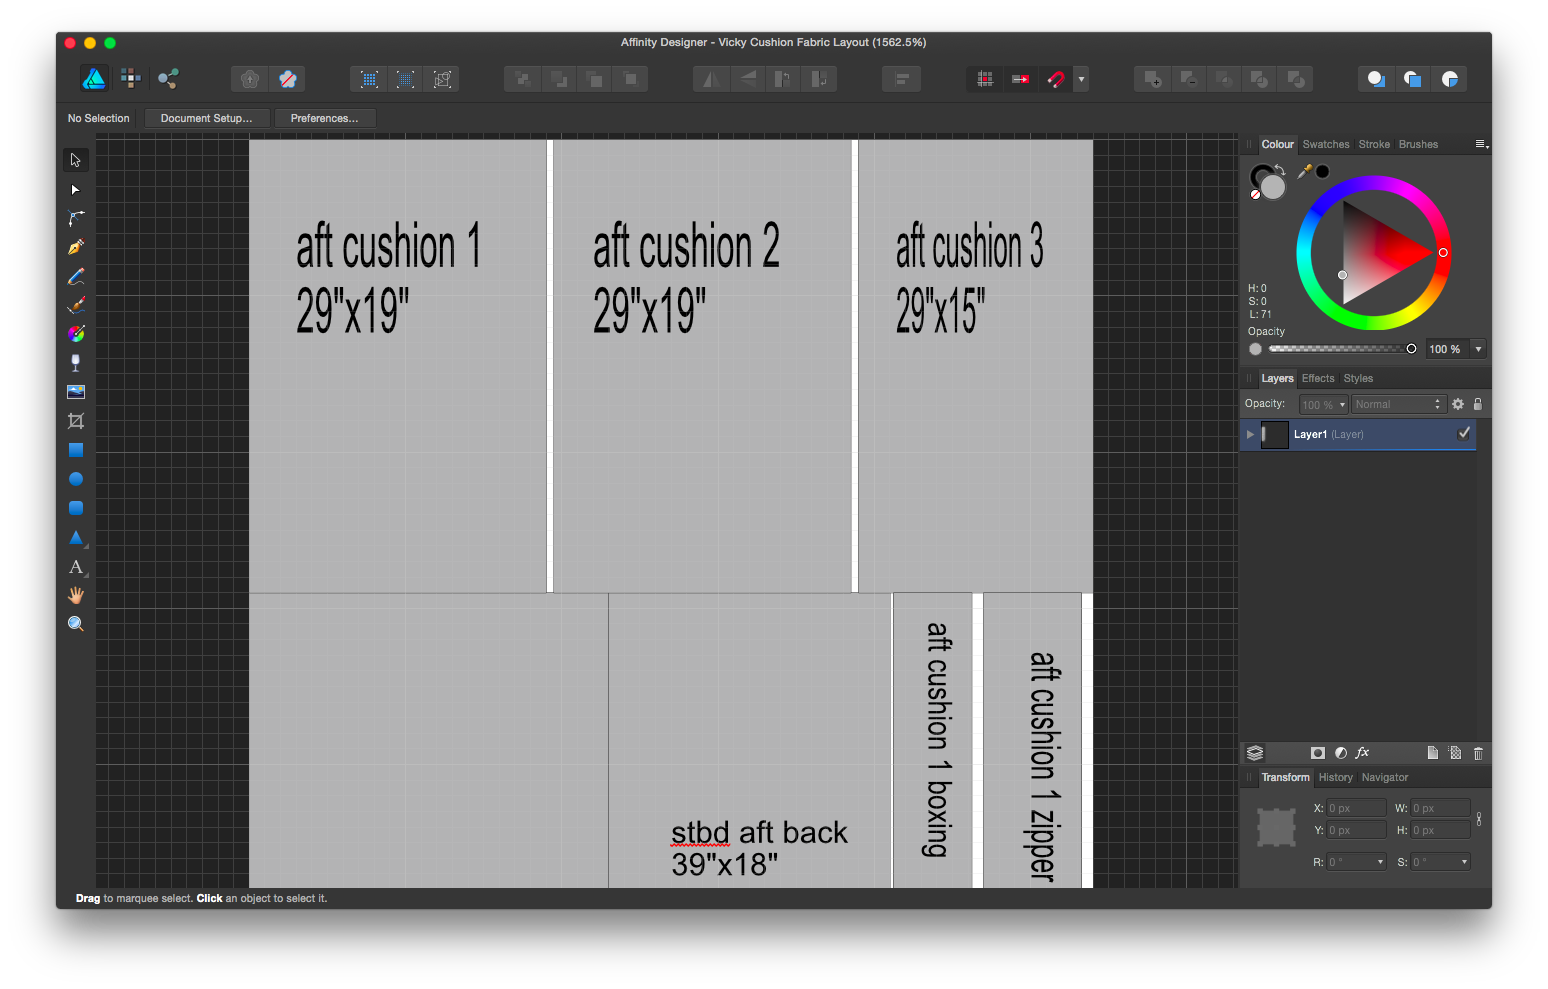
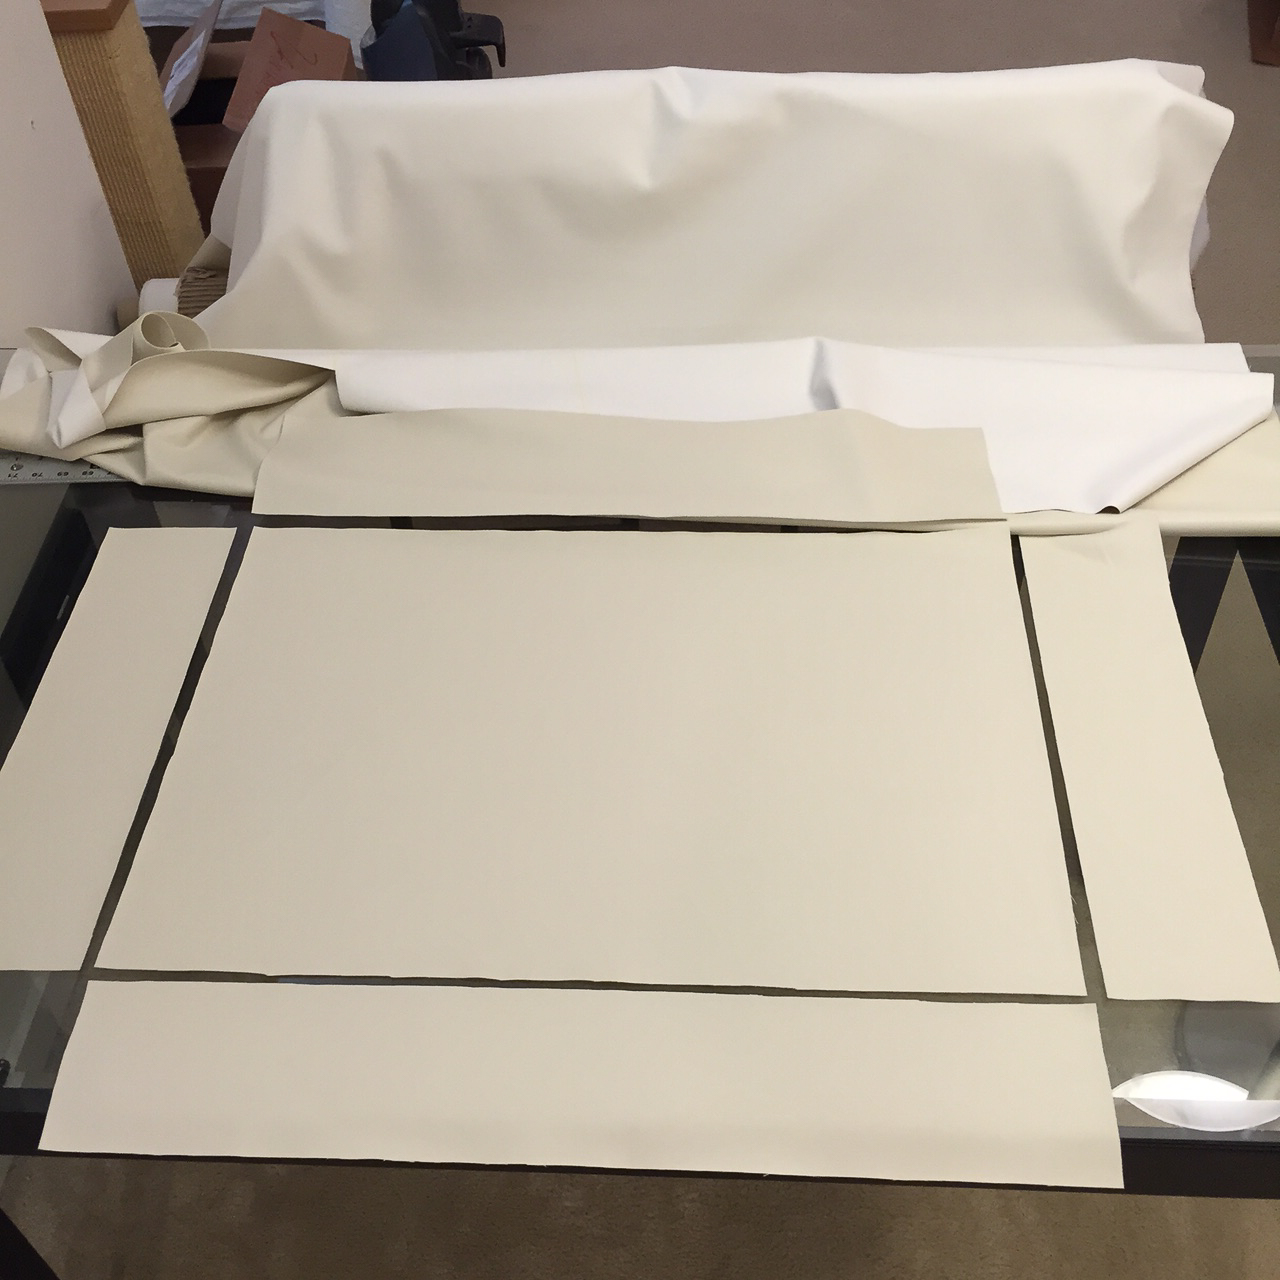
Before we began buying fabric, I had to calculate exactly how much we needed. Since we had the existing cushions, I recorded the length x width of each cushion individually. Using a graphic design program (similar to adobe illustrator), I created a grid 54 pixels wide (54″ is the width of the fabric we’d be buying) so each pixel represented one inch. I then created a box for each cushion along with it’s corresponding boxing, with the same scale of 1px = 1″. This allowed me to “place” the cushions & boxing on the “fabric” and move/re-arrange stuff to find the optimal way to piece together each cut of fabric to minimize waste (even at half price, that ultraleather is pricey!).
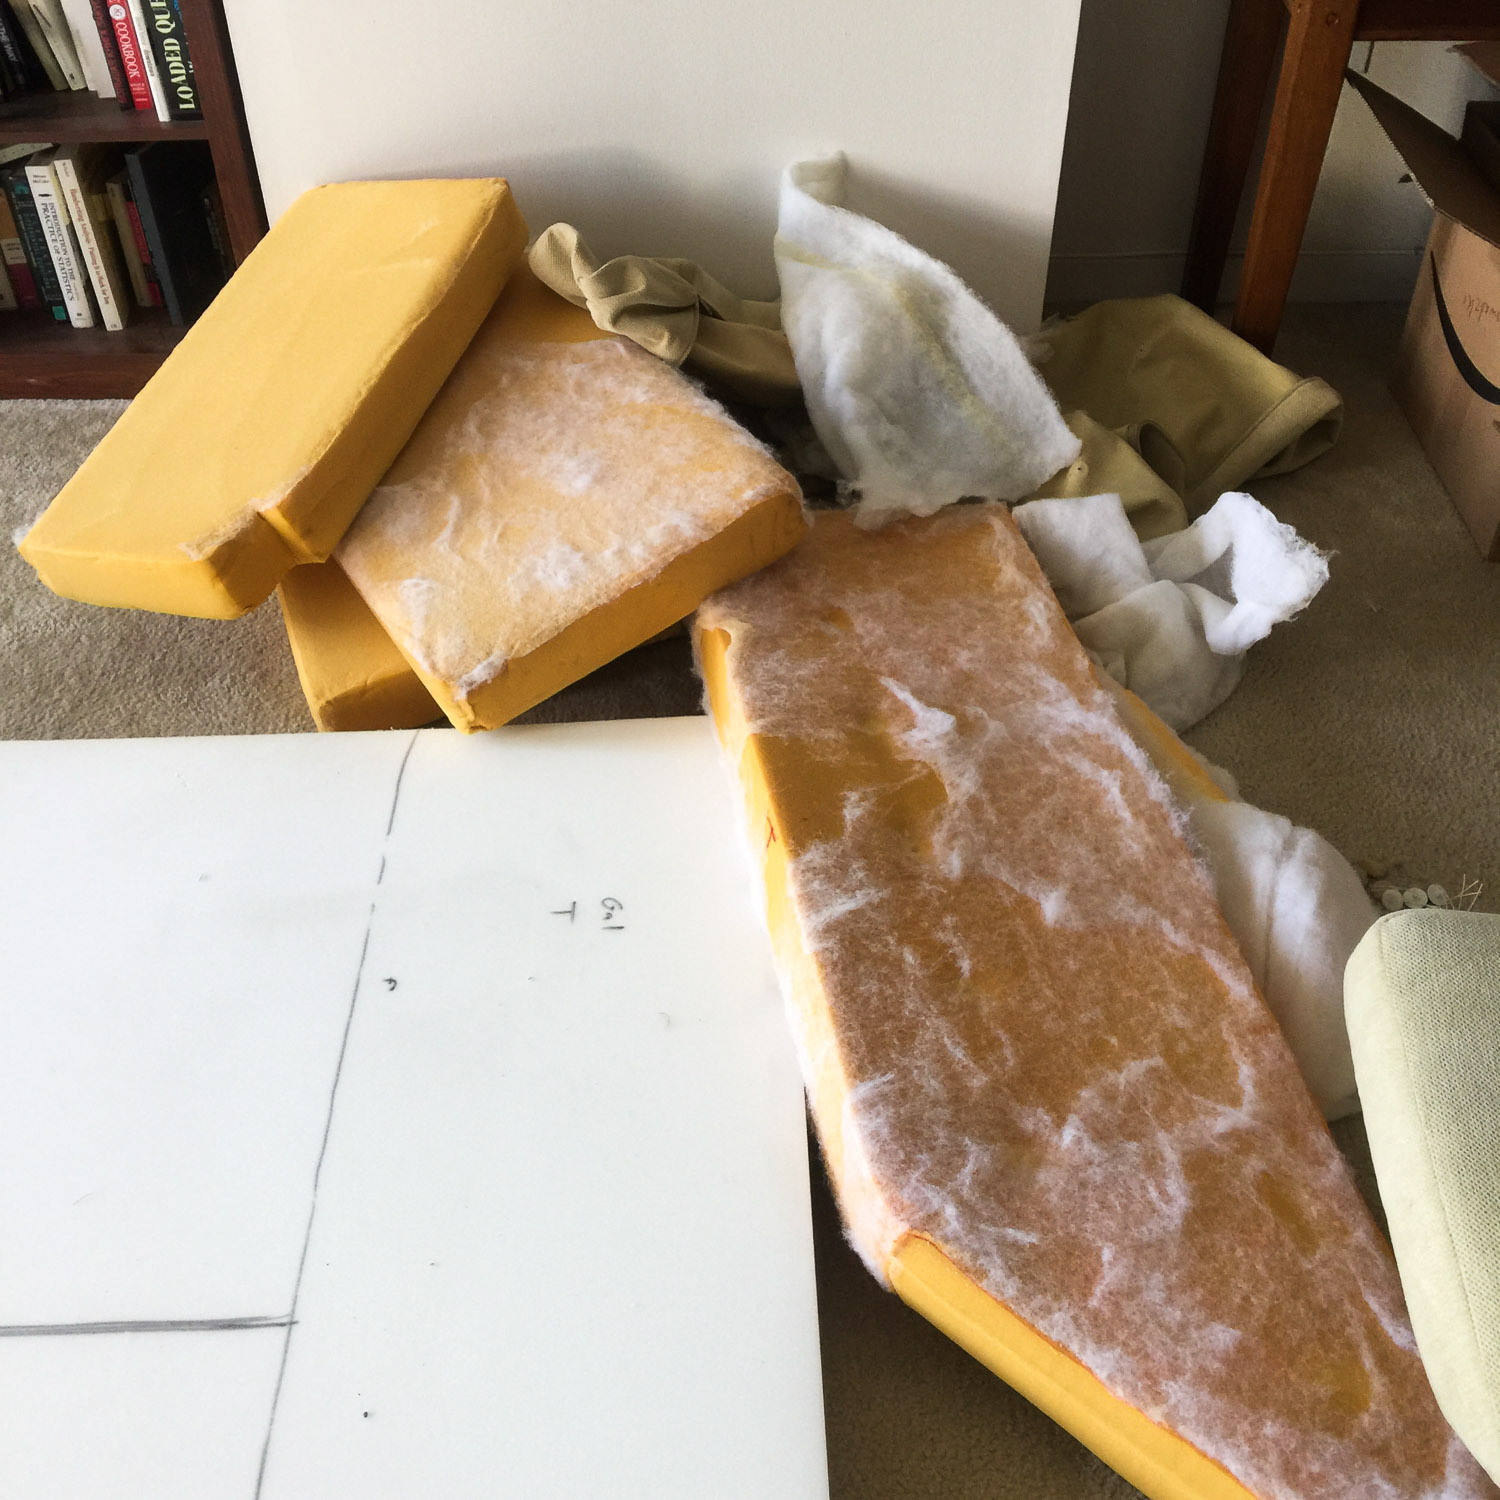
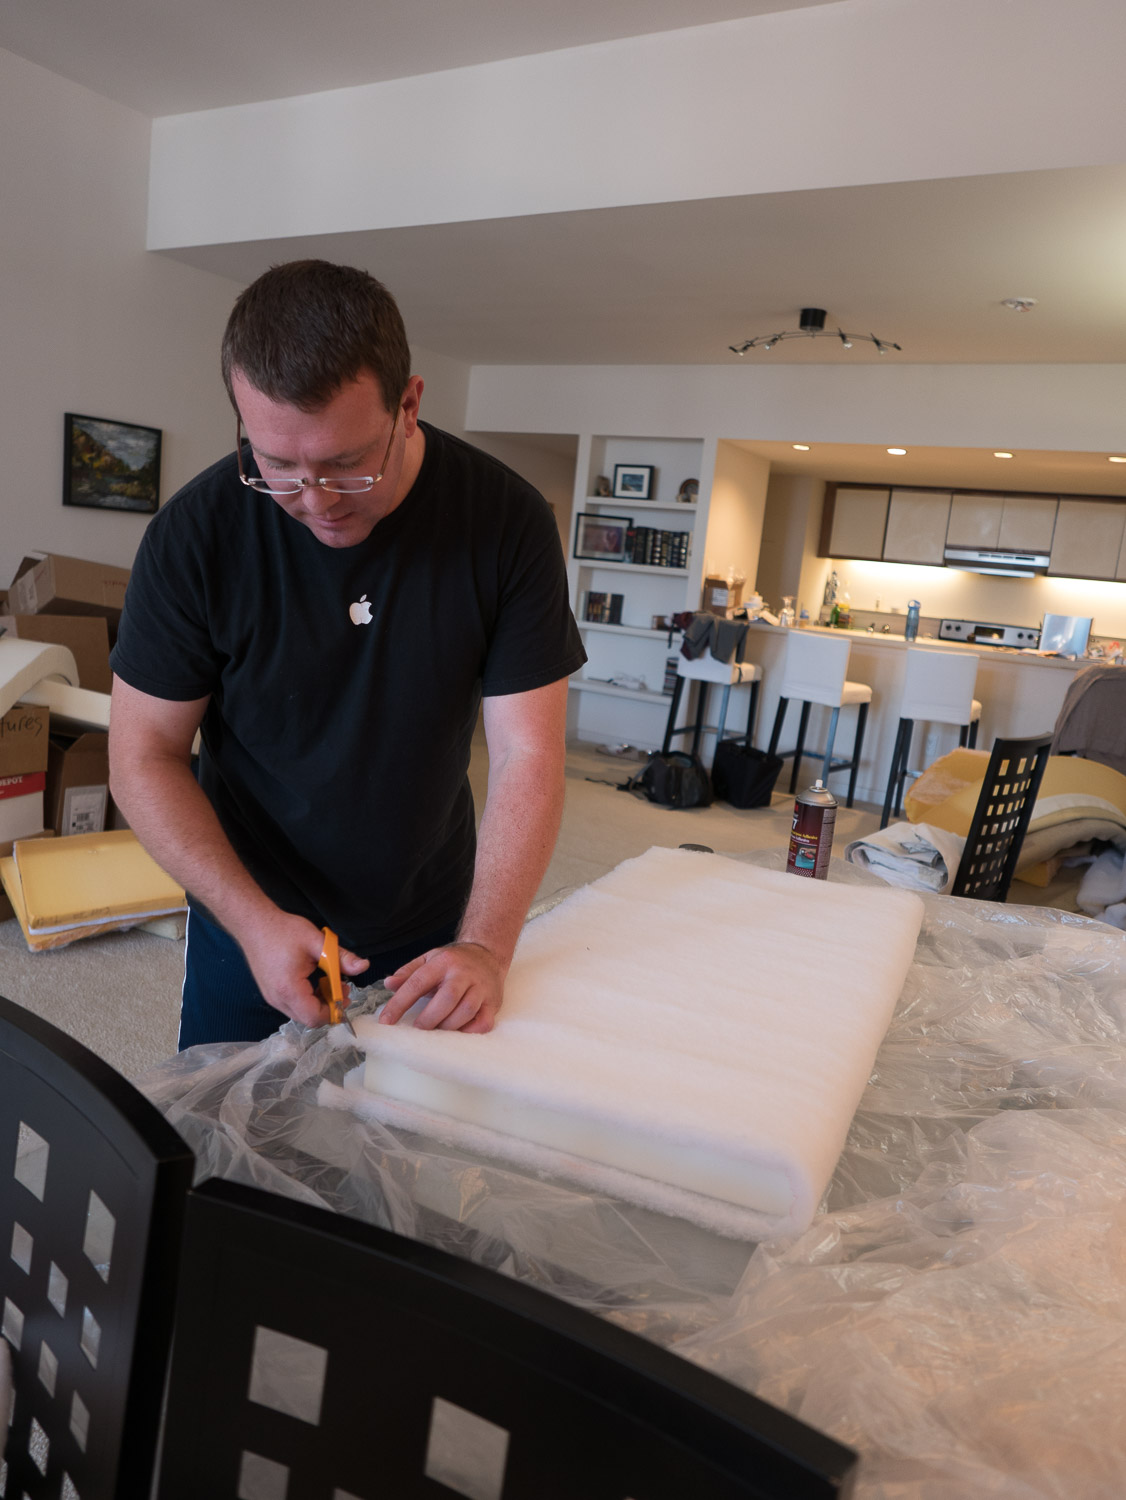
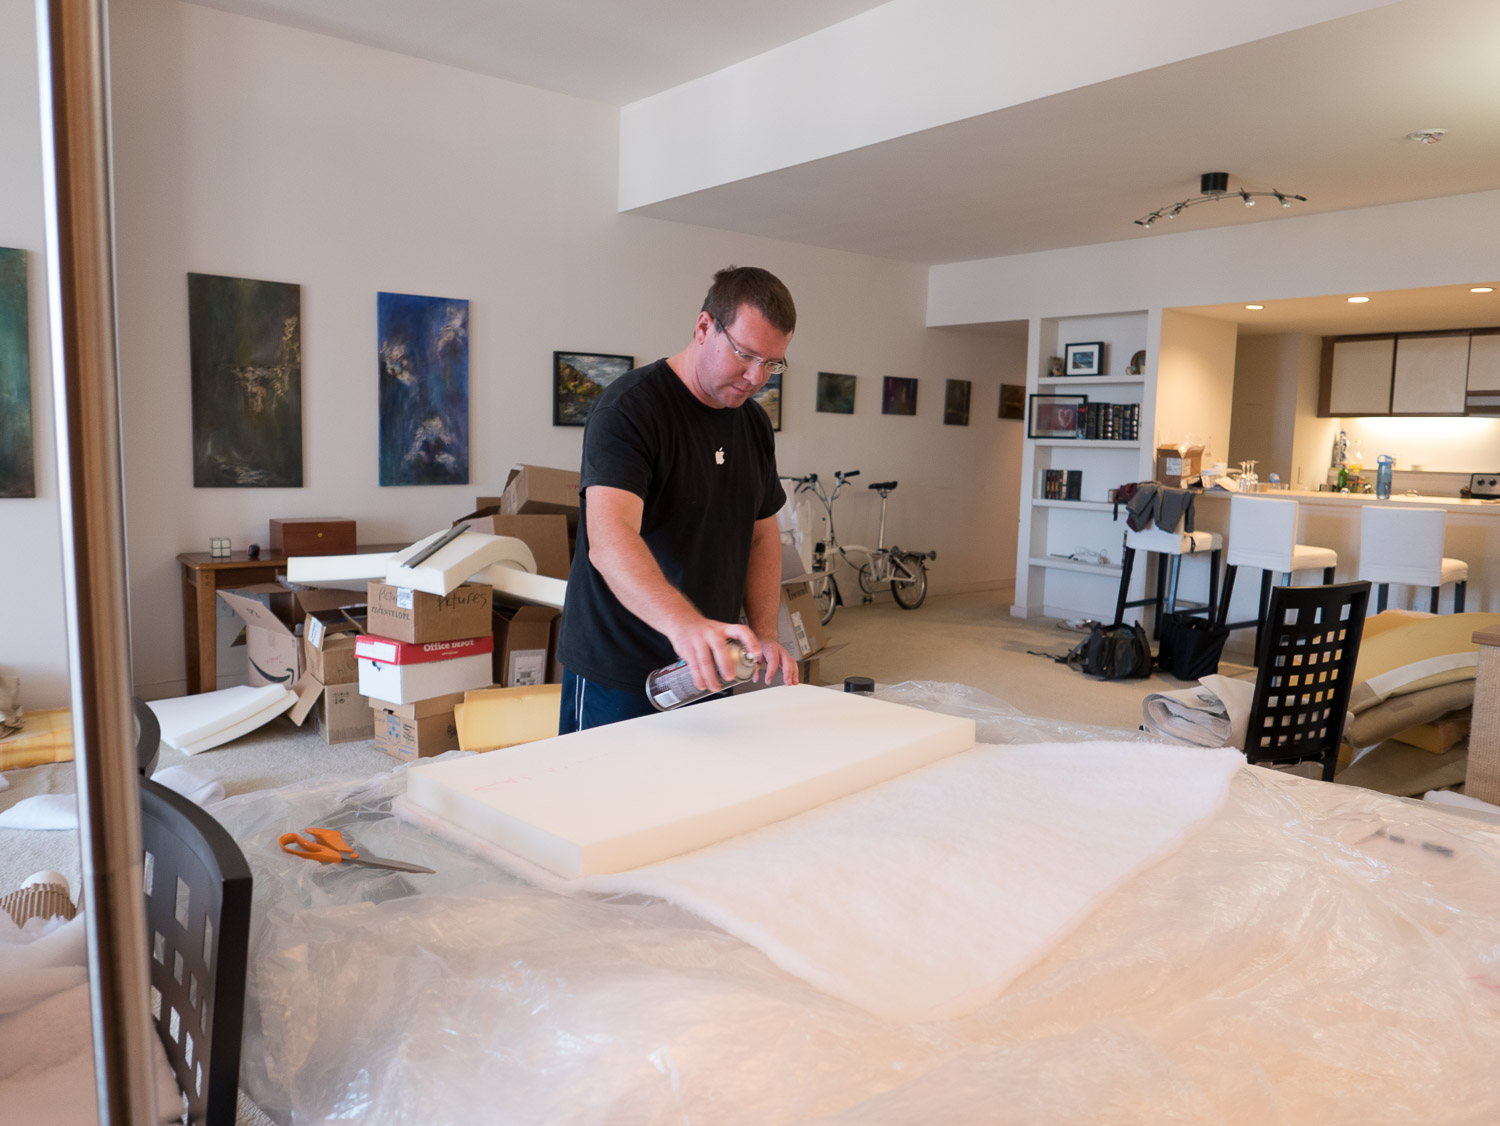
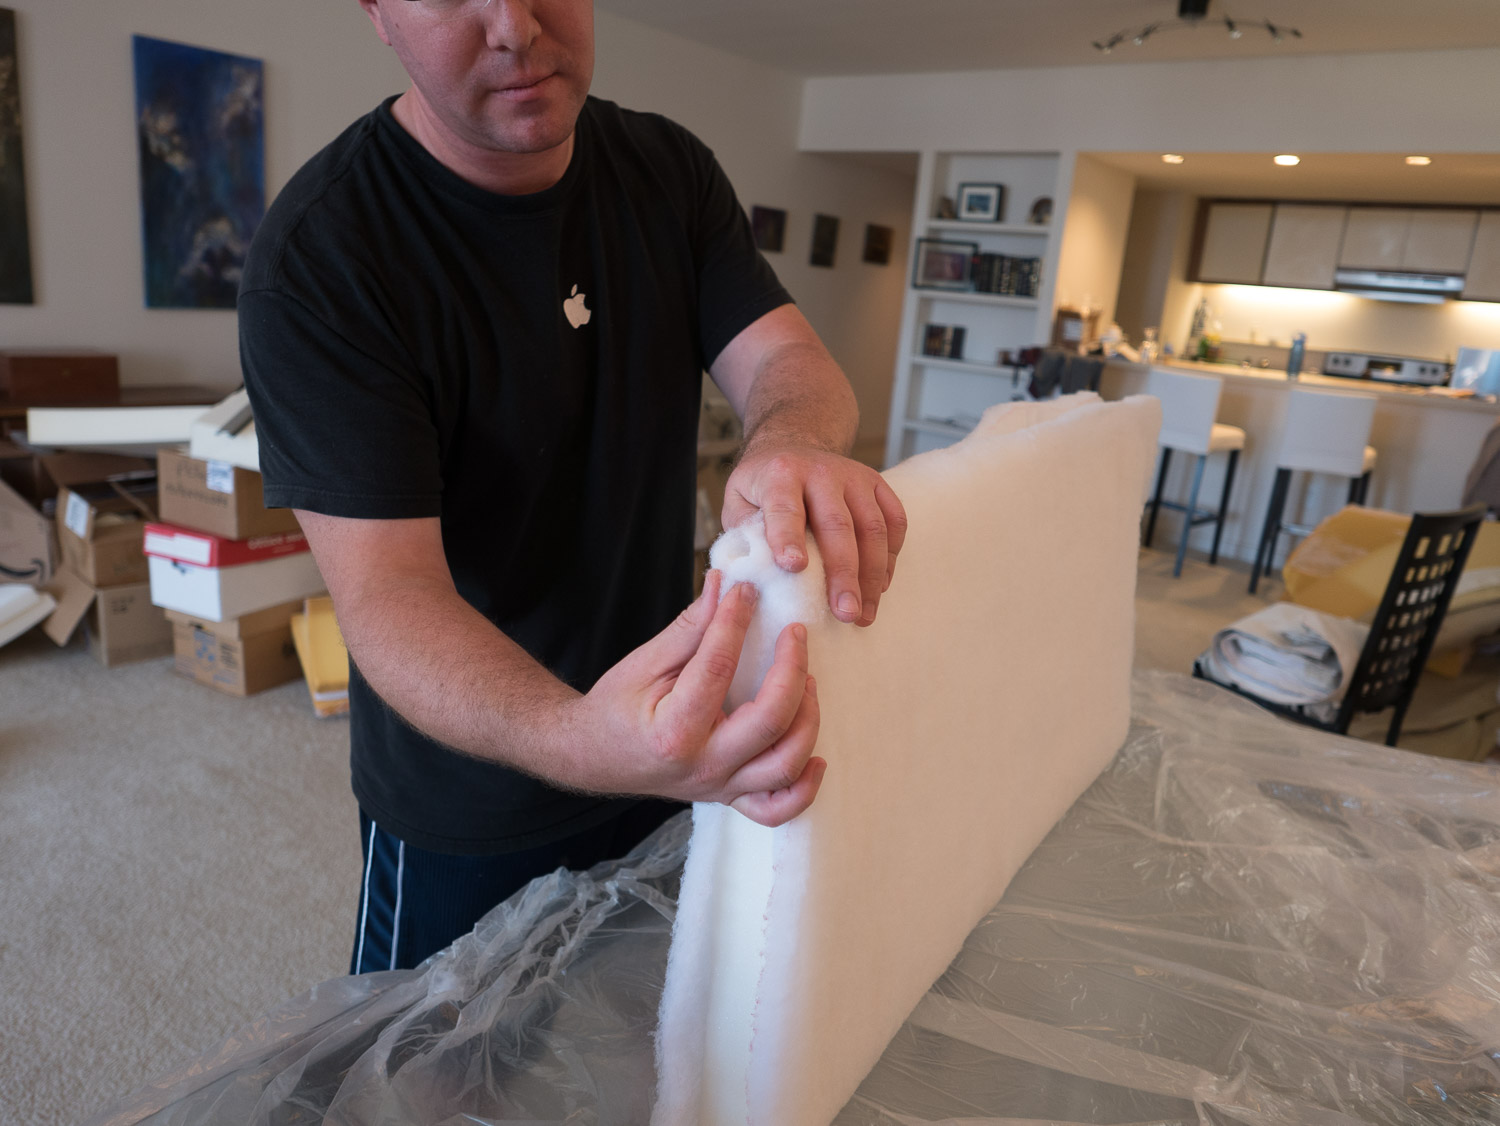
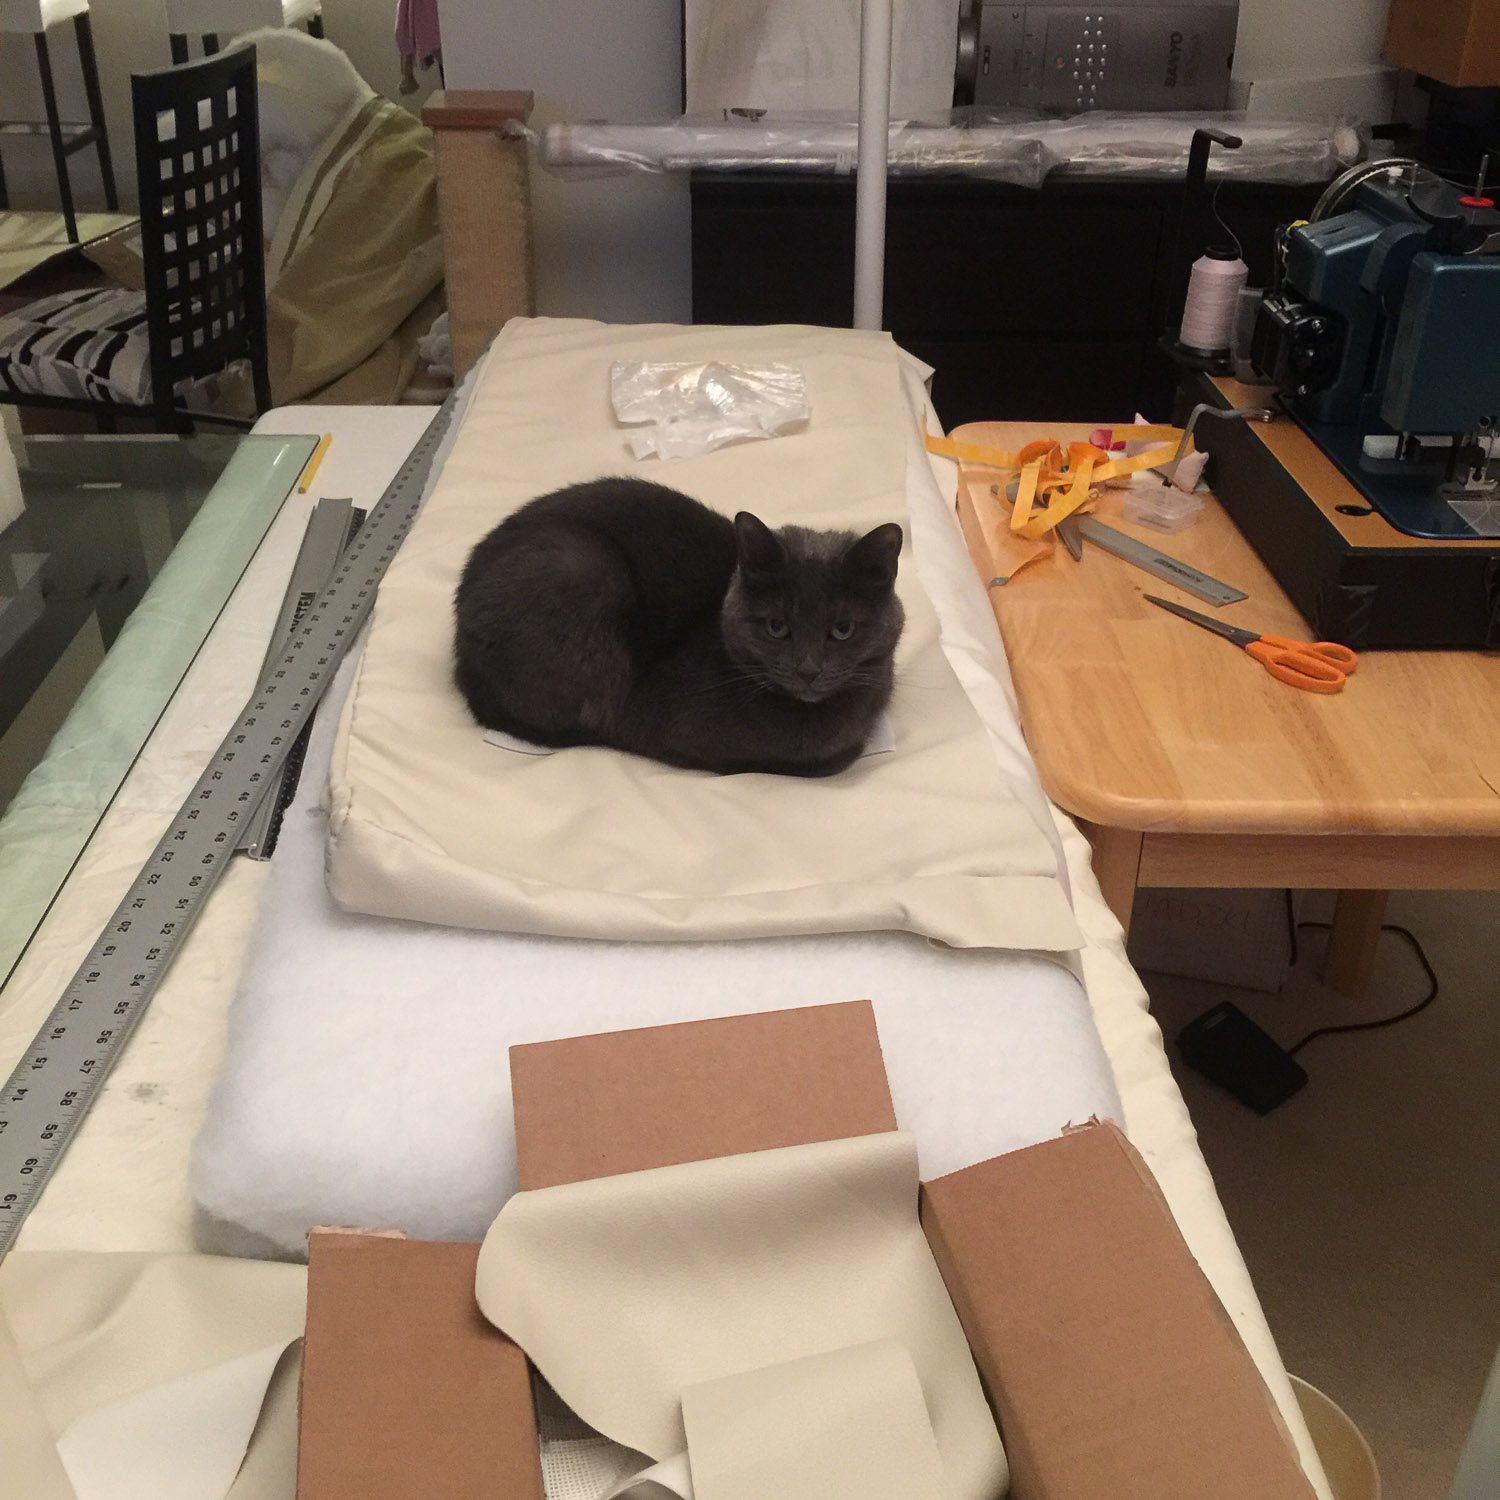
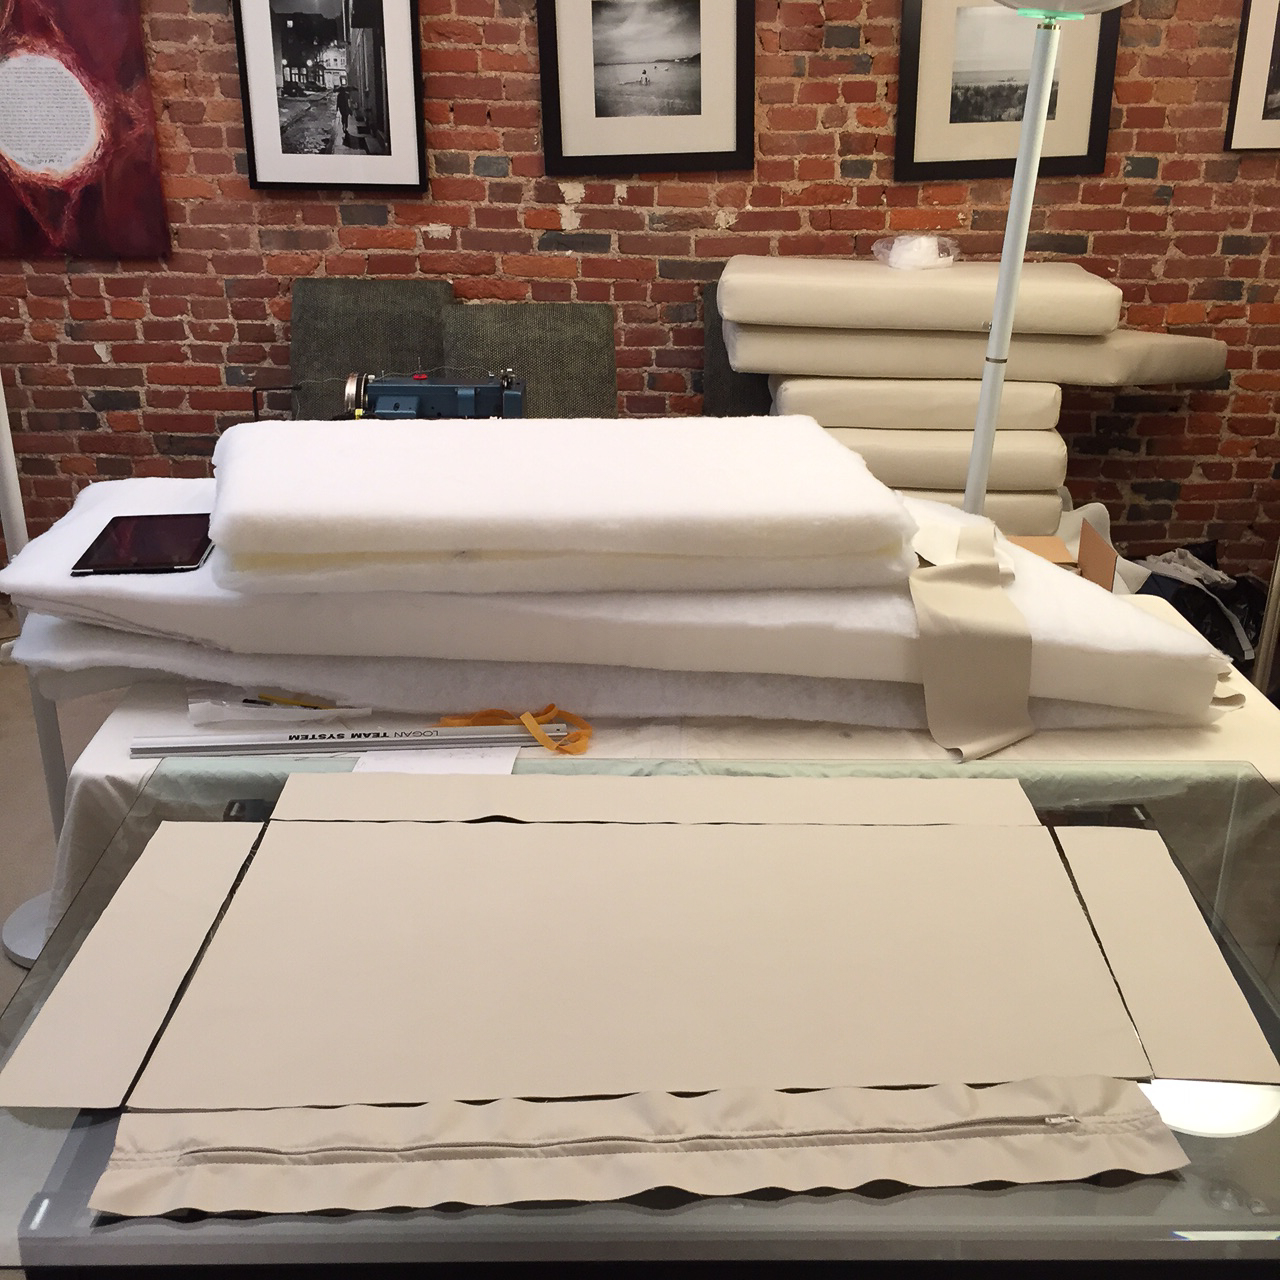
Once the layouts were done we had the fabric/foam/batting/zippers/cushion underlining, the work began in earnest. I had gotten a full sheet of 4″ HD-36 HQ foam from thefoamfactory.com, as it was cheaper than ordering pre-cut pieces. (On a side note, we chose that particular foam after quite a bit of research as it was a high-quality, high-density/medium firm foam, well suited to seating, and should last 15 years or more) Cutting the foam was actually fairly difficult, not because of the cutting but simply because the sheet was so big that it was difficult to maneuver into place to make straight cuts. I used the old foam as a template, and cut the new foam with an electric carving knife. I measured the batting out for each piece, and wrapped each new cushion, gluing the batting in place with 3m 77 spray adhesive.
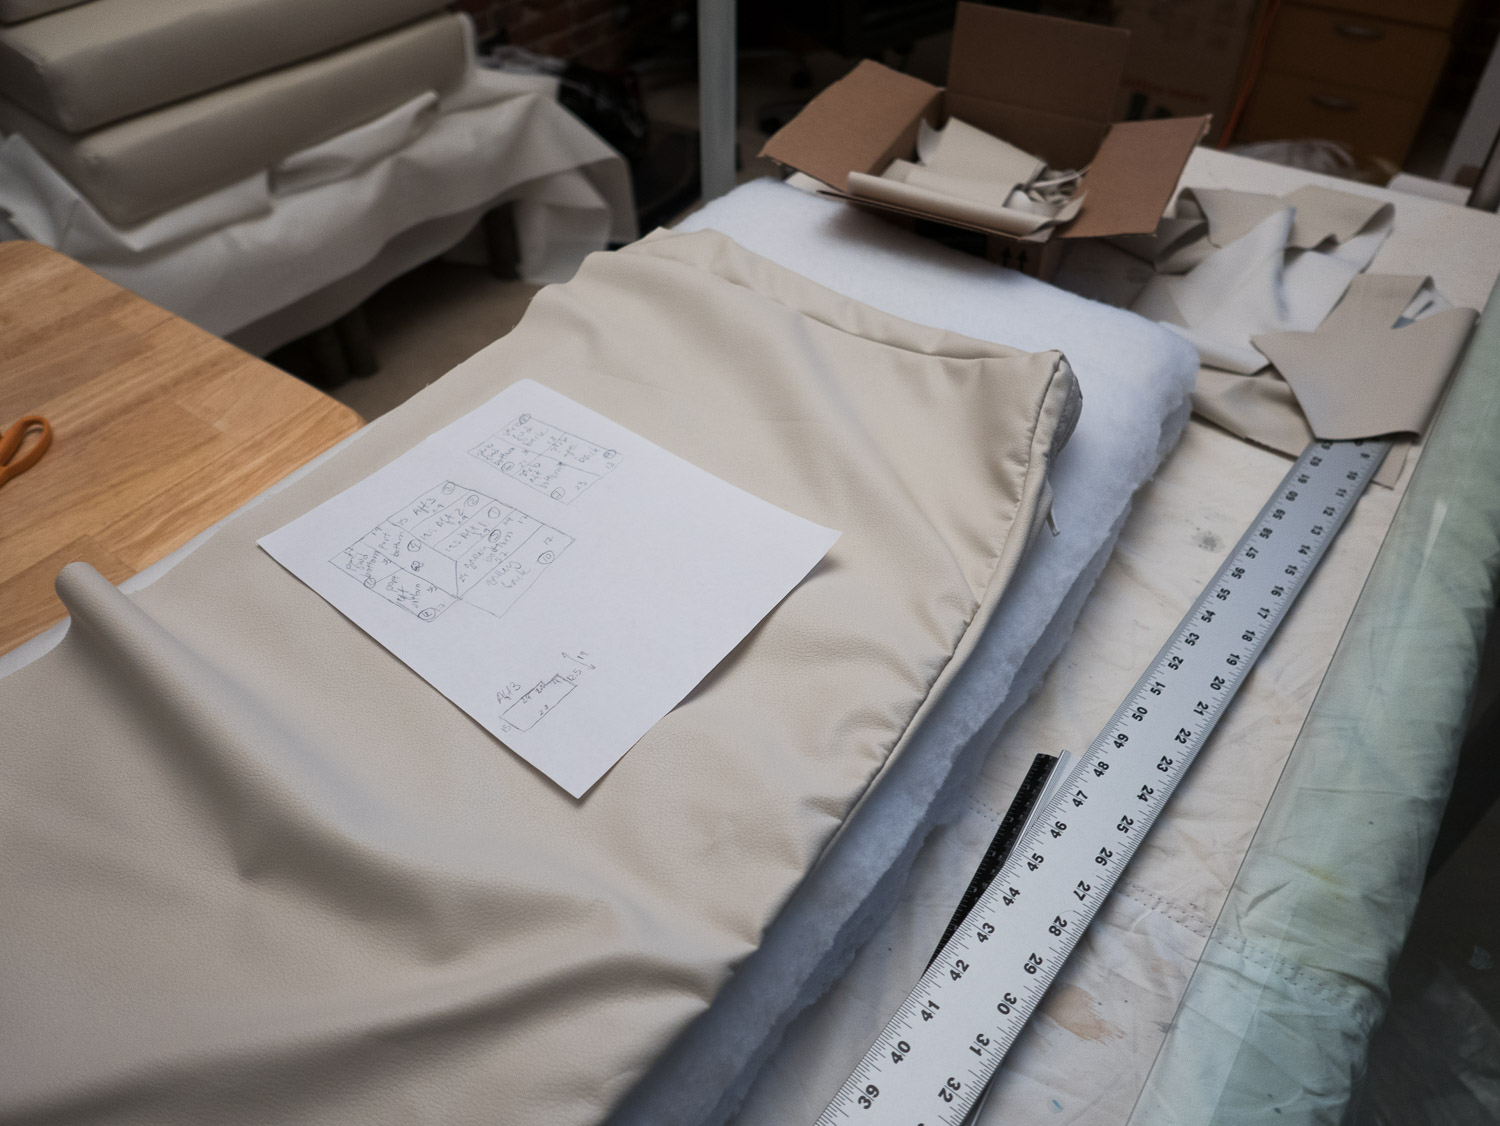
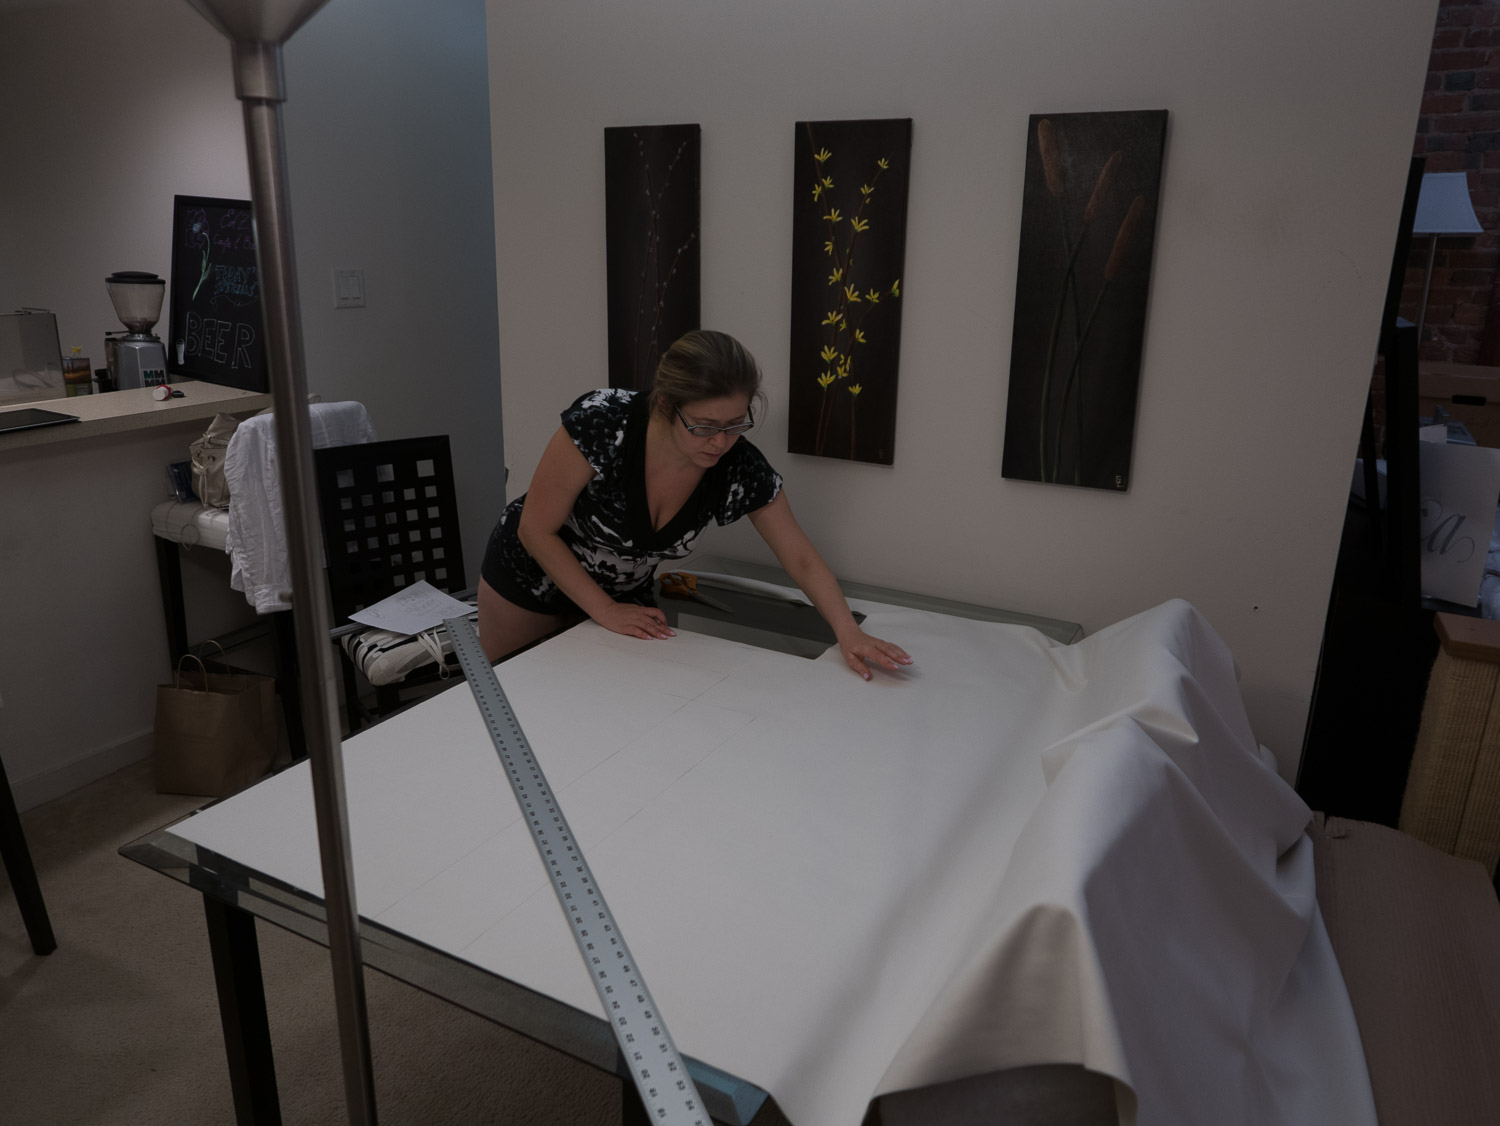
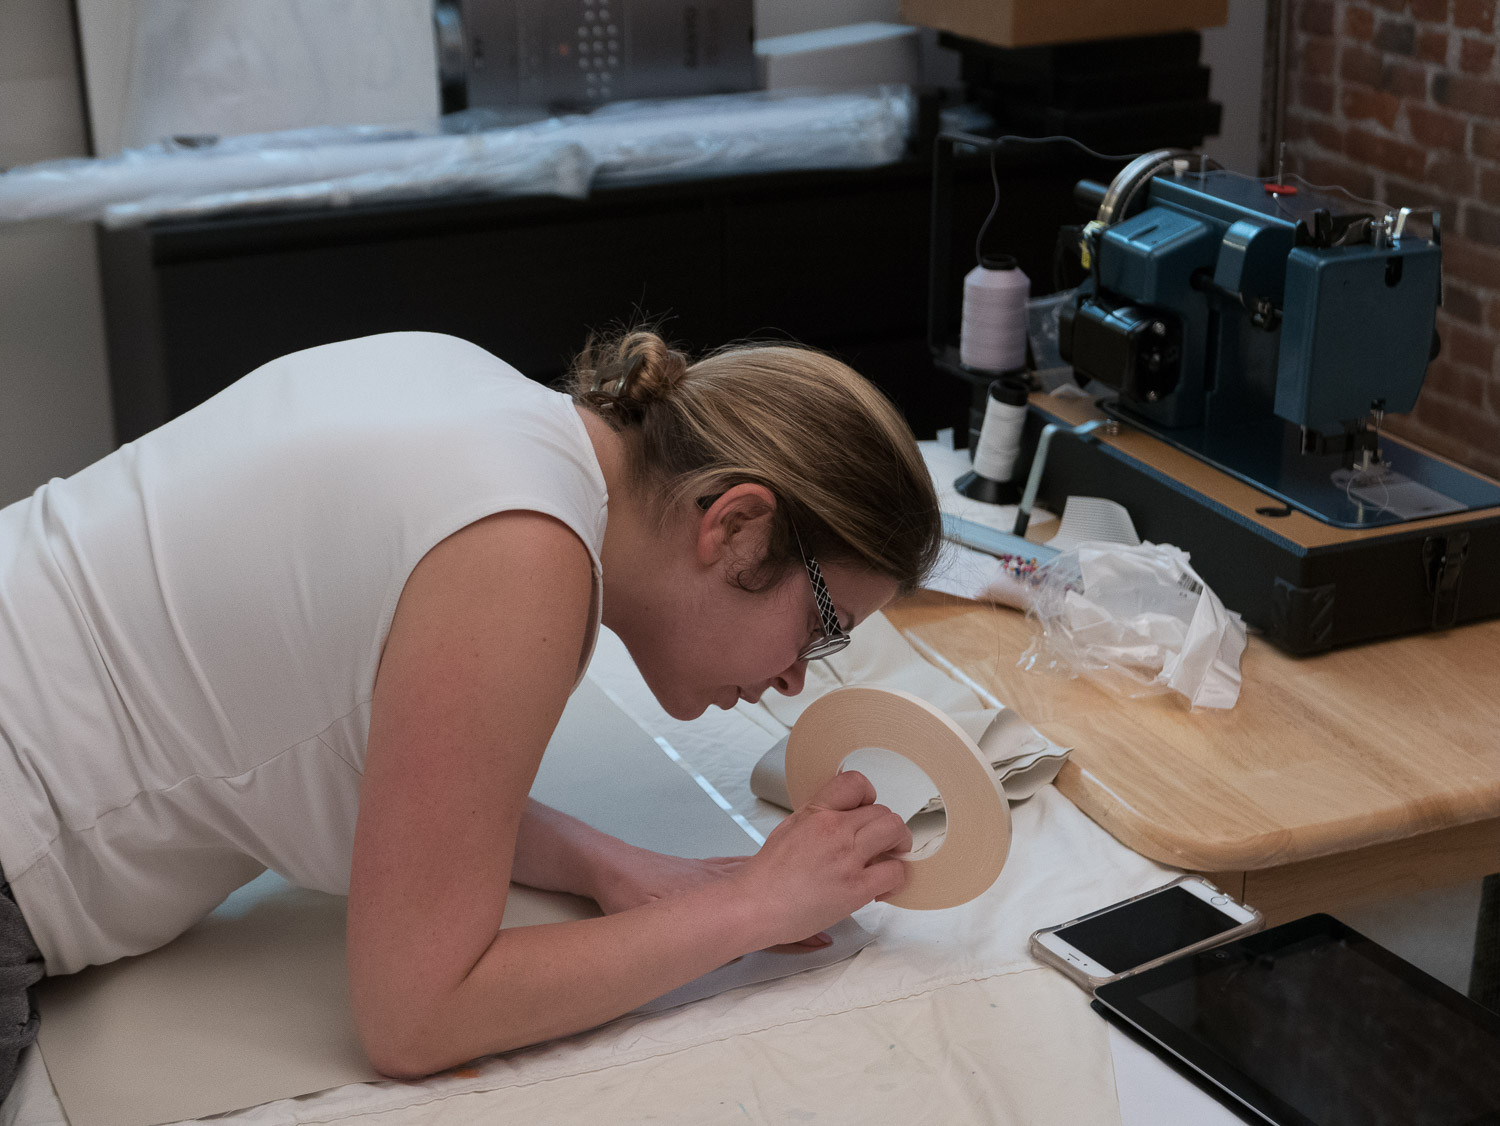
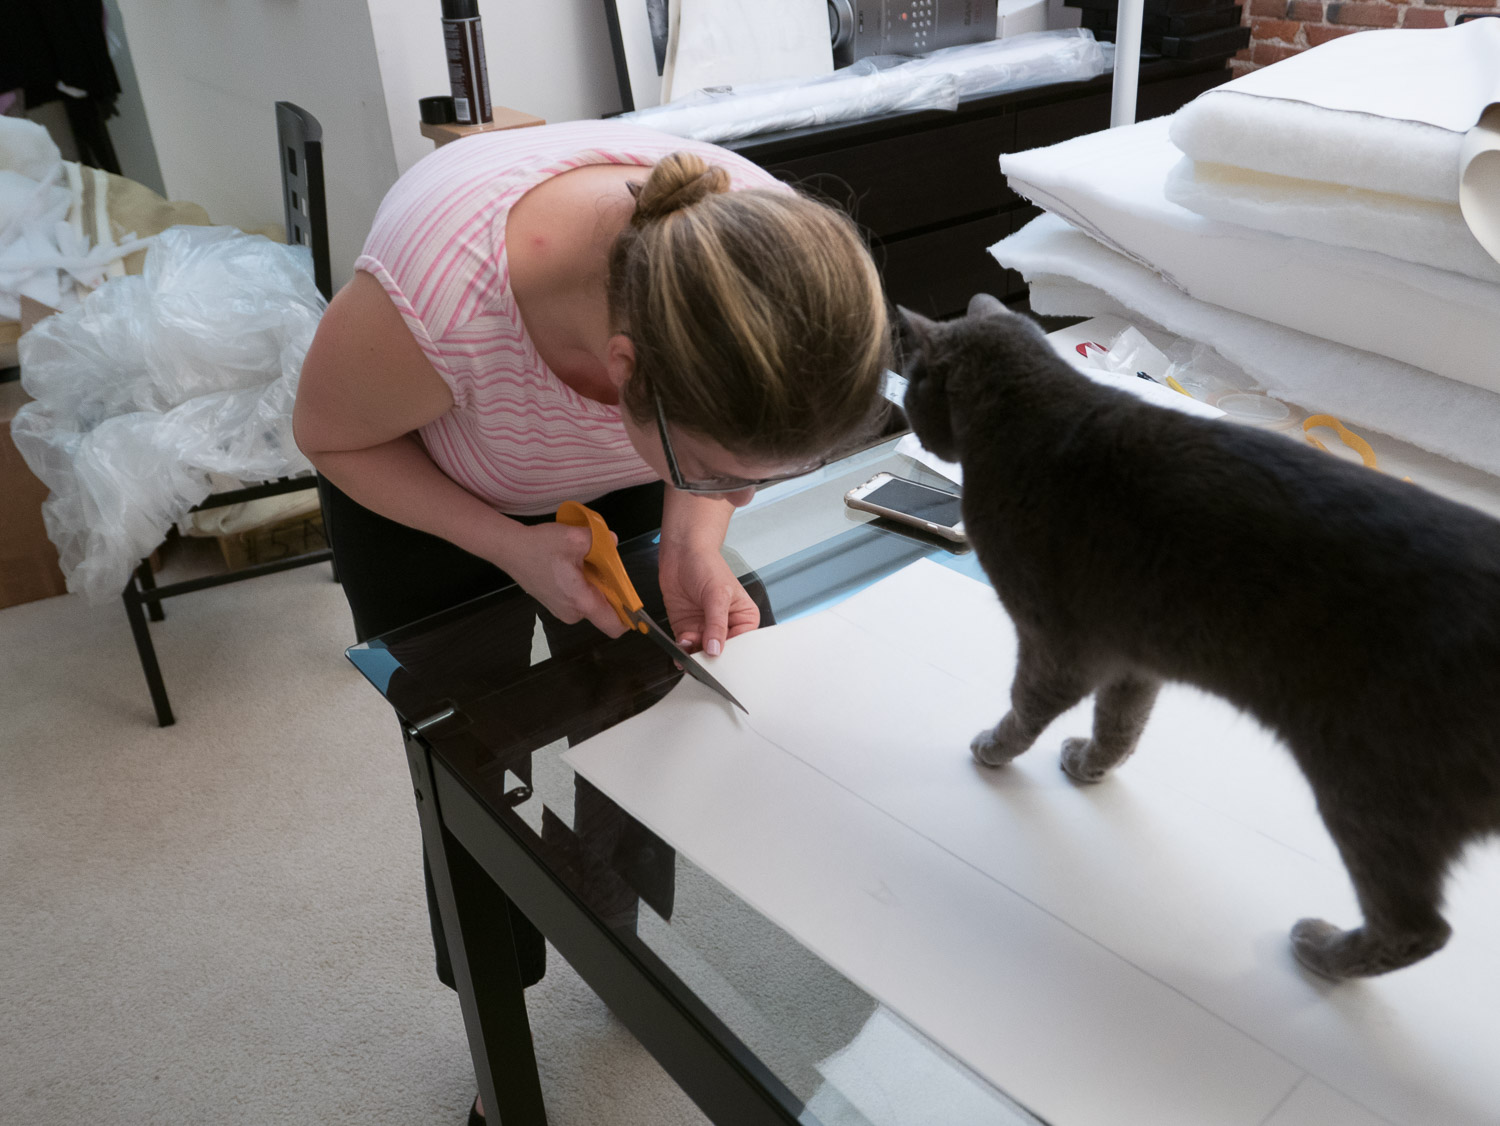
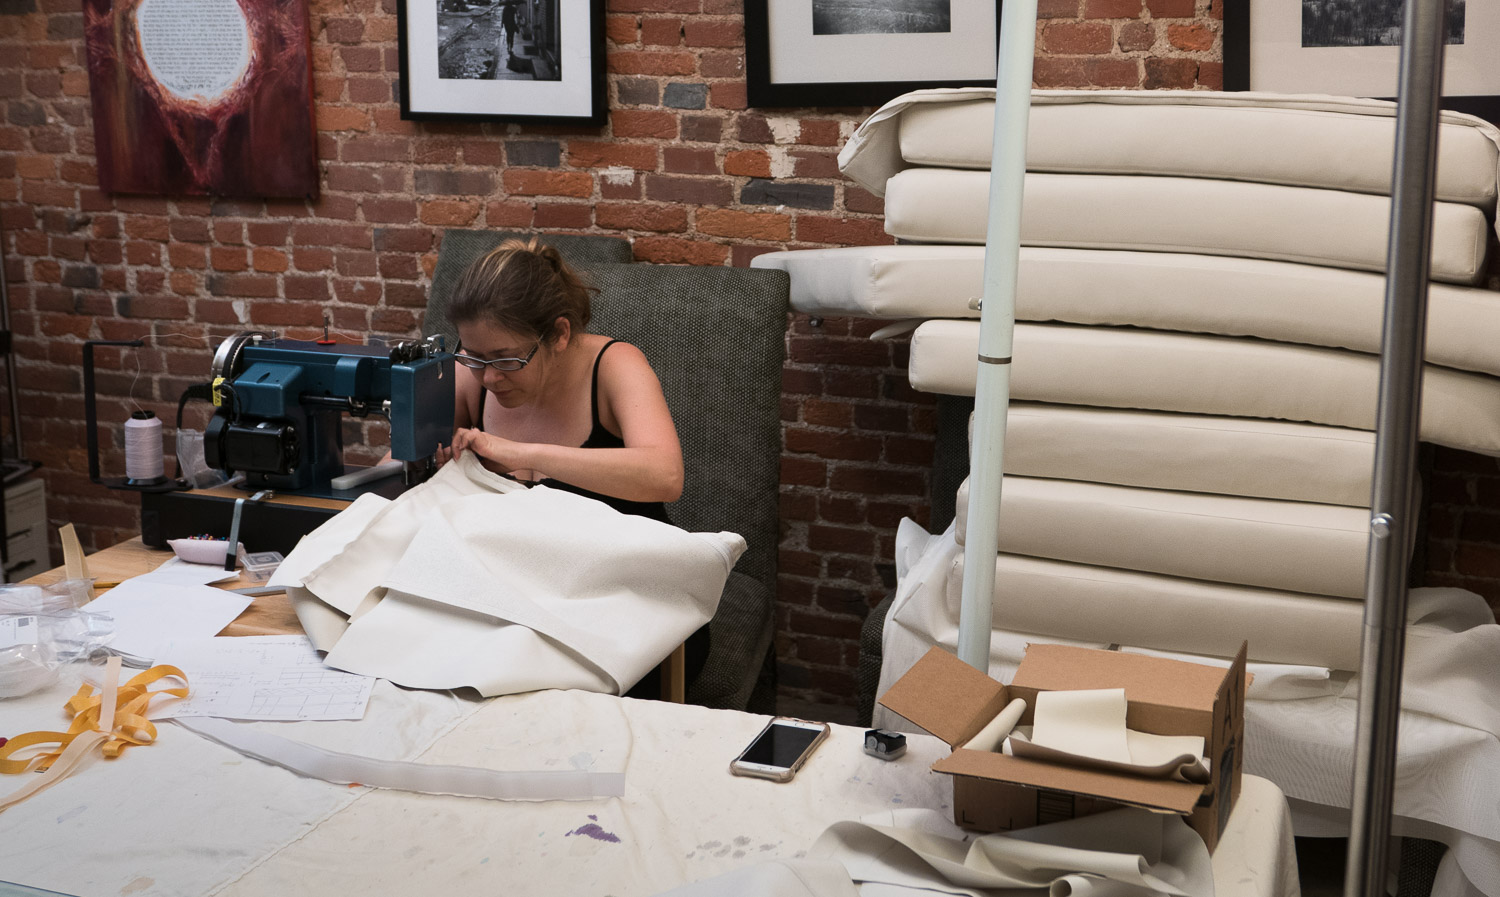
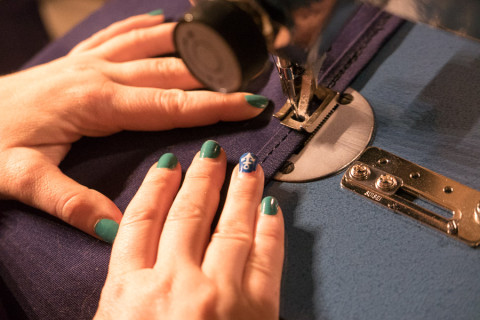
Meanwhile, Vicky was cutting the Ultraleather and underlining material (just like in the Sailrite video we chose to make the bottom panel for each cushion out of a special cushion bottom/underlining material, partially for cost reasons (it’s a lot cheaper than ultraleather) and partially because it would give a bit of slip-resistance and extra breathability to the cushions. Since we already had the measurements for each panel/boxing Vicky was able to start sewing them together as I was working on foam batting. She used 1/4″ seamstick basting tape to hold the panels/boxing together, which proved extremely effective in holding everything together while sewing. Once the cover for each cushion was assembled, I would stuff the foam in and we’d move on to the next. There was a little bit of tricky-ness involved in calculating the measurements for some corners where there were odd-shaped curves/angles, but everything came out in the end. Once we got the routine down it really wasn’t a *difficult* project per-se, just very time consuming! Between the cushion making and varnishing it was about 3 good week of work… (while Vicky was sewing, I’d be over at the boat sanding down the interior teak, and re-varnishing. Wanted to have all the messy stuff done before we brought over our sweet new cushions.)


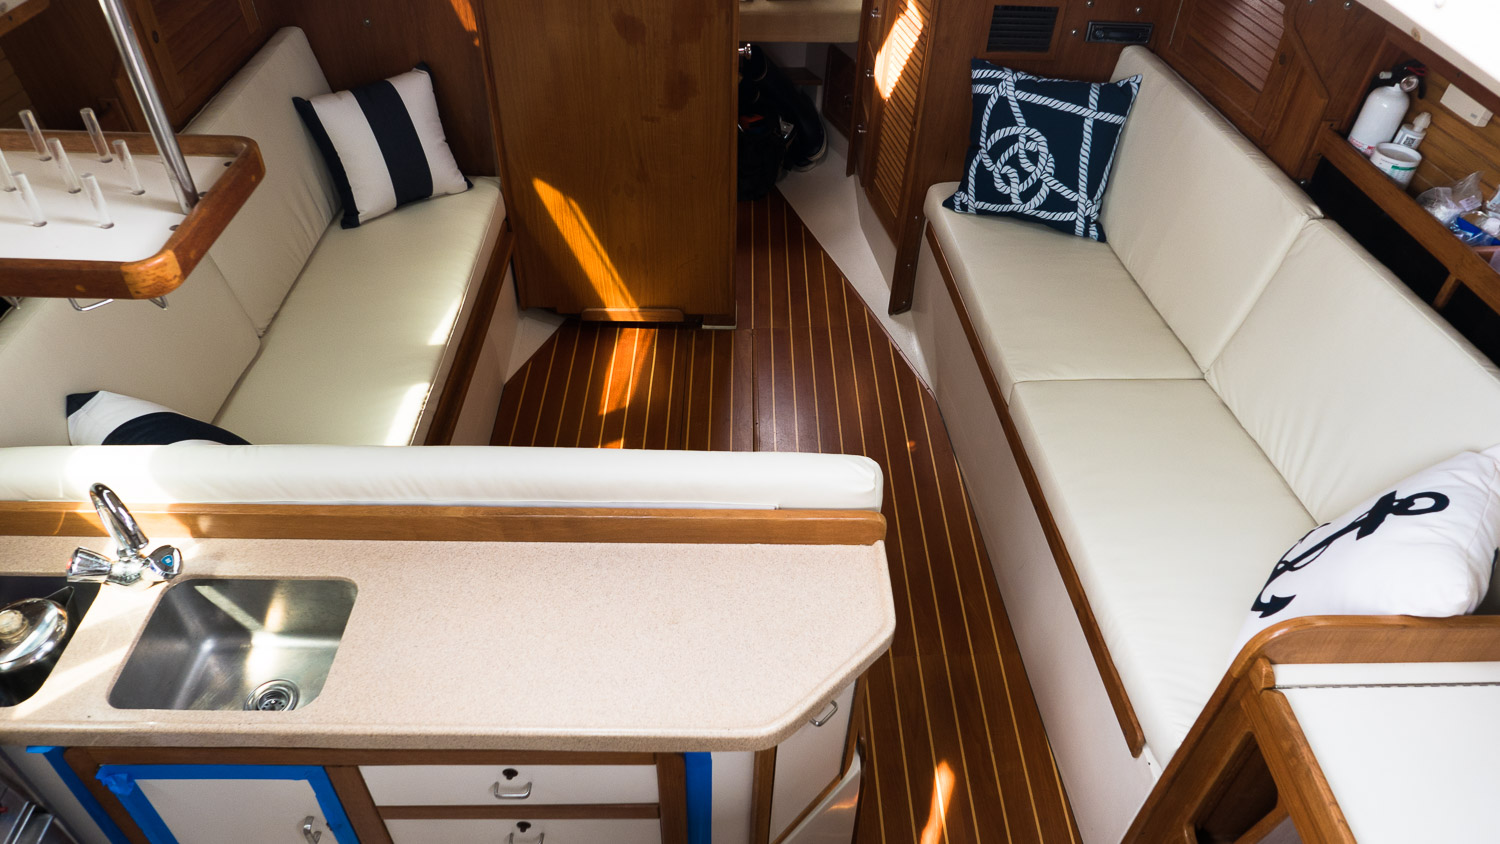
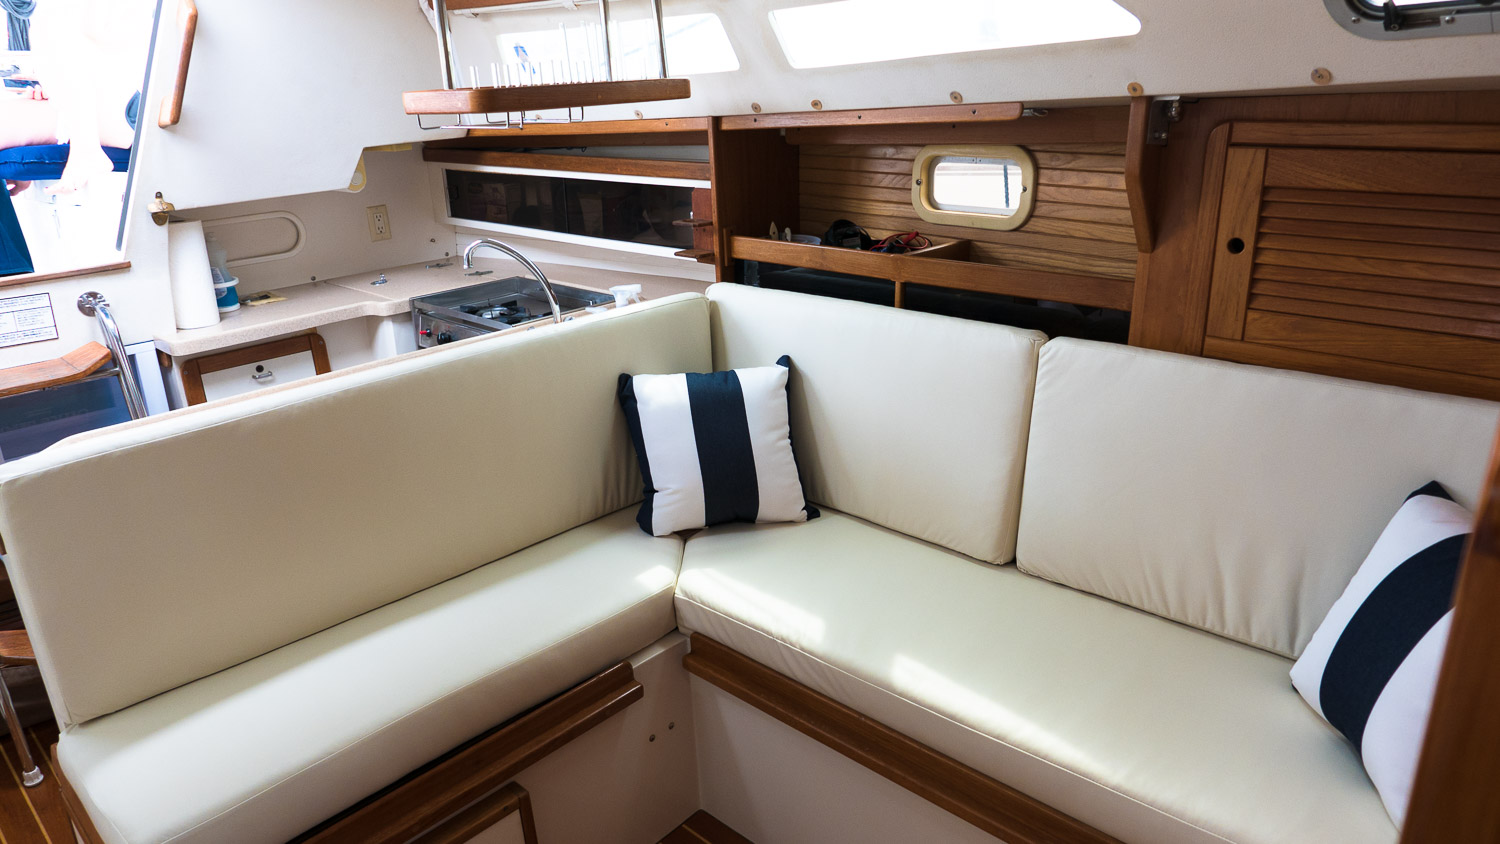
Once it was all done and we bought all the new cushions aboard, the whole interior was transformed, it was almost like a brand new boat. We love our super-comfy new salon (and just hope we can keep the fabric clean – fortunately Ultraleather is very stain-resistant, and easy to clean)


Wow – you did an amazing job on the cushions! It looks so professional!
I’ve added you to our list of sailing blogs on our site. Looking forward to following along on your adventures and more of your boat projects :-)
Thanks Ellen! Hopefully should be posting more adventures, and less projects soon (although the projects are never ending…)
Hi, fantastic work. I am actually in the planning stages to do this to my cat 30 as well. You claimed you only needed 10 yards of fabric. Was that just the salon or did you also do the v and quarter berth? I have had people tell me to plan on 40 yards for the whole boat. I would love to hear your thoughts on that. Again, super work the boat is beautiful!!!!
10 yards was just the salon, and we used a different fabric for the bottom panels (the cushion underlining from sailrite). If you are doing the v-berth and aft, it will be quite a bit more… I used a vector design program to lay out all the dimensions to. Calculate how much was needed.